
Before we continue coding the training part, we are going to do a short improvement to our neural net. We are going to add the following: Bias and Normalization.
Adding bias will help our neural net to solve more complex problem. Normalization, on the other hand, will be used to optimize inputs, allowing multiple inputs to be fed to our neural net.
Adding Bias
Bias is an offset from an origin. A simpler way to understand bias is through linear function.
y = mx + b
Where b is where the function line intercept the y-axis.
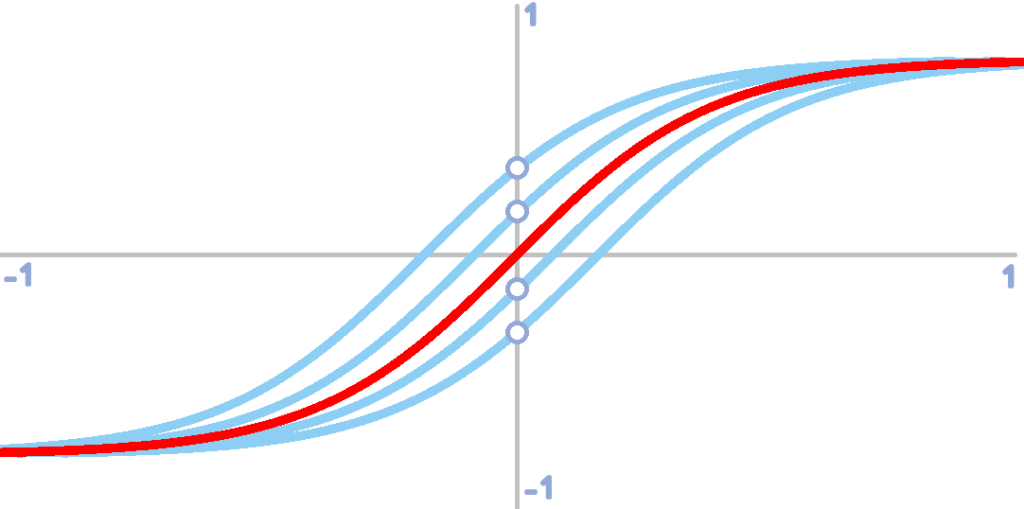
Without a bias, our activation function, tanh(x), is limited to adjusting the steepness of the tanh function. This can already allow the neural net to learn patterns. However, this can result to a poorer fit
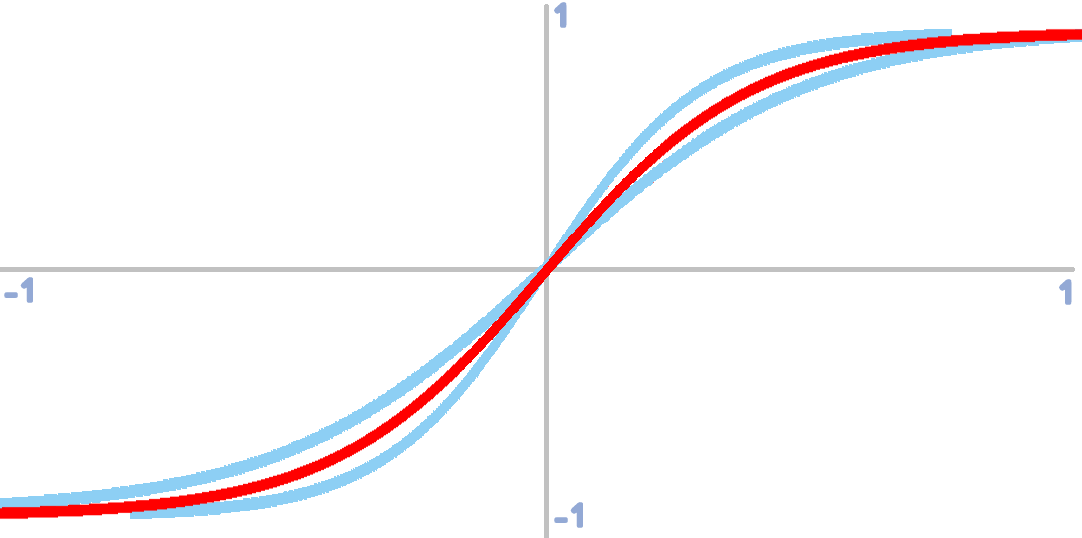
Bias allows the tanh function to adjust horizontally.
Normalize Script
In the future, our neural net might require more than one input. Some input values might vary in ranges. For instance:
| INPUTS | |
| Direction | Direction will be measured in degrees, 0 to 360 |
| Distance | Distance on the other hand will be measured in pixels. Distance can range from 0 to ∞ |
This will result in a poorer fit. The distance input will influence the result more than the direction input. In order to counteract this problem, we have to limit the range of any inputs from 0 to 1 and this can be achieved through normalization.
Normalization should be used when dealing with multiple input values that posses different range. For instance, input 1 ranges from -100 to 100 and input 2 ranges from 0 to 5. Normalization will convert these values to a common range in this case -1 to 1.
In code, normalization will look like this:
///normalize(input, min, max)
var _x = (argument0-argument1)/(argument2-argument1);
return(_x);
Where:
• input (argument0) – input value
• min (argument1) – minimum possible value
• max (argument2) – maximum possible value
Everything is set! Our neural net is now ready for a little more complex task. On the next post, we are going to create training scripts for our neural net. Stay tuned!
Did you know that you can be notified when the next post is up? Enter your email and hit subscribe. Cheers!
Leave a Reply